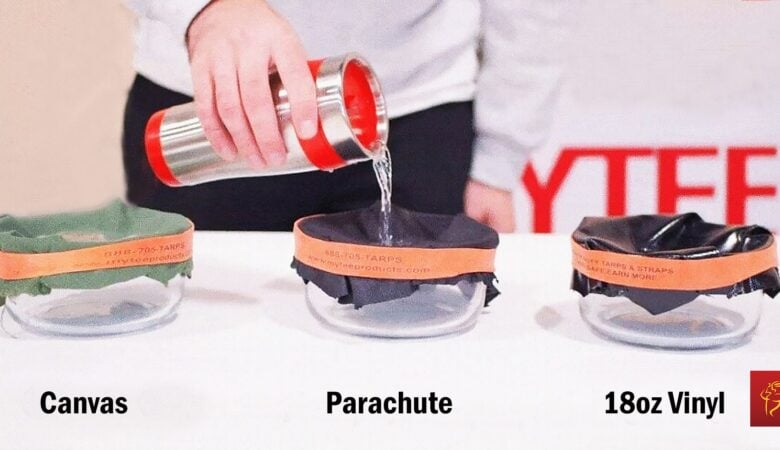
Truck tarps are among the most important tools in the trucking industry. They can also be expensive tools if you buy the highest quality tarps available. So what do you do when one is ripped or torn? You try to repair it. Repairing a truck tarp can extend its life and save you a lot of money. That’s important for truck drivers working hard to make a living without a lot of room for error.

Whether you are a professional truck driver or a weekend warrior using tarps for your boat or camper, knowing how to repair rips, tears and holes can pay off in the long run.
We want to help by offering you these three tips for truck tarp repair:
#1 – Understand the Damage
A successful truck tarp repair starts with assessing the damage. For example, a minor tear or mouse hole can be temporarily repaired using commercial tarp tape. Damage that is more substantial will require a patch with either a strong glue or a stitched repair. Damage to seams always requires the strongest repair methods in order to prevent the damage reoccurring.
We might point out that tarp tape is really only intended as a temporary repair to get you where you’re going. Tarp tape will not last forever against sun, moisture, and temperature fluctuations. You will need to get some patching fabric if you want a repair that is more long lasting.
#2 – Clean before Patching
Truck drivers are notorious for not having a lot of time to deal with tarp damage properly. Consequently, sometimes a repair will be attempted without properly cleaning the area around the damage. This is a mistake. Regardless of the type of repair you make, proper cleaning is essential to a successful and strong repair.
Soil, dirt, and other debris can be cleaned with warm water, soap and a rag. Oil based stains will need to be attacked with some sort of solvent or rubbing alcohol. It is important that you get all of the substance off the tarp before making the repair, or the adhesive will not stick properly. Also, be sure to clean an area large enough to accommodate your entire patch. Six inches beyond the damage is generally large enough.
If you are stitching a patch in place, proper cleaning is still a good idea. Why? Because the stitching is only intended to provide extra strength. You will still be using adhesive to ensure a watertight repair.
#3 – Repair Both Sides of the Tarp
For those really big holes, you may need to apply a repair on both sides of the truck tarps. You can do this by patching one side first, giving the repair plenty of time to set up, and then applying the same repair to the other side. This will give you a lot of strength that should hold up over the long haul.
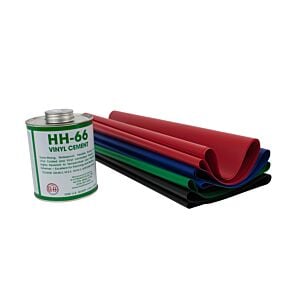
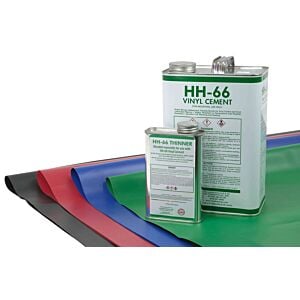
You can buy vinyl repair material and tarp repair kits at most places that sell commercial grade tarps for the trucking industry. It is fairly inexpensive and easy to use. Make sure however, that you follow the instructions found on the label. That includes instructions regarding air temperature at the time of the repair. If it is too cold, the adhesive will not stick properly to your tarp, causing the patch to fall off after just a couple of days. If it’s too hot, you may not get the patch applied in time before the adhesive sets up.
Truck tarp repair is not hard if you are patient and willing to do things the right way. Over the long haul, you can save a lot of money by repairing your tarps rather than replacing them.