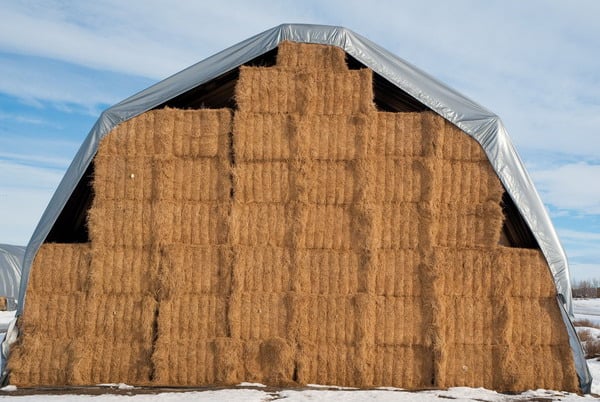
The final harvest of hay for the year is now past for all but a small handful of operations in the deep South. For everyone else, hay has been baled and put into storage. That does not mean the work is done, though. Any hay producer who wants his/her crop to maintain its value must be diligent about measuring moisture levels throughout the winter months.

Every hay producer knows that moisture is the enemy. Moisture promotes the growth of mold and fungus; it encourages critters to take up residence in stored bales, and it creates conditions that can eventually lead to a catastrophic fire. It is not enough to bale your hay and throw it under a tarp until spring. You have to keep an eye on it throughout the winter. To that end, below are three things every hay producer should know.
1. The Problem with Moisture
Before we even get to talking about the electronic moisture tester, we need to address the question of why moisture levels need to be checked. As you know, hay that has too much moisture is no better than hay that is too dry. Farmers are typically looking for an 18% to 20% moisture content.
Hay with too much moisture is an open invitation to fungus and mold. Both are living organisms that consume moisture as they propagate. Here’s the problem: fungus and mold put off heat as they feed and multiply. At the same time, they also break down proteins in the hay. The combination of increased heat and less structural integrity within the hay stacks can lead to a fire.


2. Testing before Baling
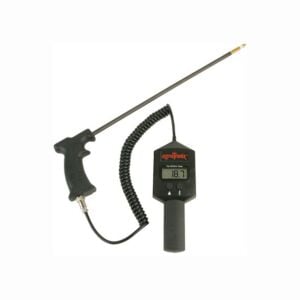
The easiest and most effective way to test hay for the moisture is to use an electronic moisture tester. Note that readings are more accurate with higher volumes of hay. Therefore, the general rule is to fill a bucket with hay that is tightly compacted. Then simply insert the tester probe and let it do its thing.
Once an initial reading has been obtained, mix up the hay and pack it down again. Then take another reading. Repeat the process several times to get the most accurate reading, then measure hay from different parts of your field the same way. Multiple testing accounts for different conditions in different areas.
3. Testing after Baling
Testing baled hay is a lot easier. Just choose a bale, insert the moisture tester, and take a reading. However, there is one caveat: the density of hay in a given bale is not uniform throughout. Therefore, you have to take multiple readings from each bale to get the most accurate number.
Make sure to space out your insertion points to get a good representation of the entire bale rather than just the center. If you get high readings, keep a close eye on things until the readings come down. If you have to open bales to let someone’s moisture out, it is better than risking spoiled hay or a fire.
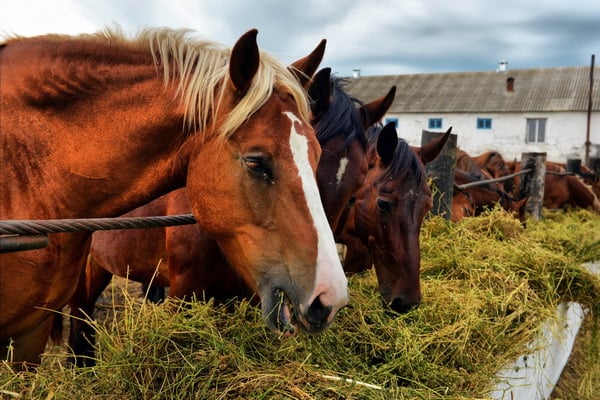
Also Read: Why Horse Owners Are Picky About Hay Moisture Too?
One last tip is to pay attention to the variation in readings. This applies to both baled and hay in the windrow. A significant variation across a single field or storage area suggests it would be best to take new readings every couple of days until things level off. Your hay is out of the danger zone when it is consistently coming in at 18% to 20%.
Are you in the market for a new moisture tester? If so, Mytee Products has you covered. Take a look at both of our moisture testers from Agratronix. Either should meet your needs.