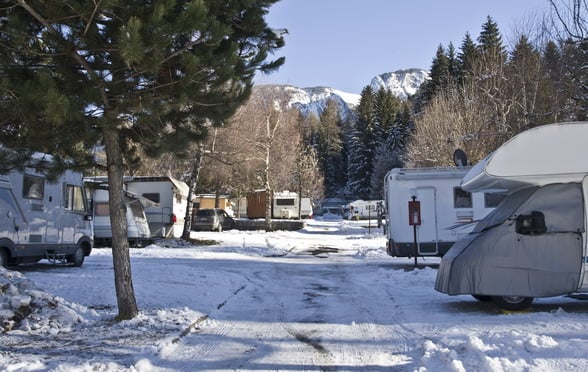
RV owners who choose to use a cover during the winter, normally do so with the expectation of extending the life of their trailer or motor home by protecting it from the harsh winter elements of snow, sleet and rain. Cleaning and storing your RV cover properly can extend its life as well.
When spring arrives, it is tempting to pull the RV cover off as soon as you possibly can and head off into the horizon. However, bear in mind that , how you remove your cover, and what you do with it once it is removed, will go a long way toward determining how long the cover will last.
Tips to Clean and Store RV Covers
Here is a step-by-step guide to removing, cleaning, and storing your RV cover:
Step #1 – Clean before Removing
The first step in properly caring for your RV trailer cover is to clean it before you remove it from the RV or motor home. Why before? Because cleaning while it is on your rig allows you to easily see all of the dirt and grime. It also allows for completely drying it – especially on a warm sunny day. Cleaning can be as simple as hosing down the cover or if there are any stains or ground-in dirt, a bit of warm water and mild detergent will do the trick. Once clean, allow the cover to dry fully.
Step #2 – Inspect for Damage, Repair
A clean cover is ready to be inspected for any damage. If you are looking for tears or holes, separating seams, worn grommets, etc., leaving the cover on as you check it makes identifying damage a lot easier. You will probably find it easier to make repairs while the cover is still in place as well. Once you are sure you’ve checked it well for any signs of wear and tear or damage, it is time to remove your cover.
Step #3 – Remove the Cover
It’s always a good idea to have help to remove your RV cover. Lift the cover straight up in order to prevent it from catching on any corners. Then spread the cover out, be it on the lawn, garage floor, or wherever you have adequate space. You may have to give it the once over with a broom to remove any loose debris. If you plan to lay it on the lawn, make sure it hasn’t been recently watered. Moisture trapped inside the cover while in storage can lead to mold growth.
Step #4 – Fold and Store
Most of today’s covers come with a storage bag and folding instructions. Follow the instructions if you have them. Otherwise, the best way to fold your RV cover is to begin with two straight folds across the length in order to reduce the width of the cover to one-third of its original size. Then fold down the length using a series of z-folds until the cover is folded down small enough to be easily managed. In the absence of a storage bag, a plastic garbage pail or storage bin with a sealed lid would work well too.
Conclusion
By taking the time to properly clean, repair, fold and store your RV cover, you will be extending its life for as long as possible. As with anything else, proper care and maintenance means that the cover will last longer. At the end of the day, you’ve invested money in a quality cover; you might just as well spend a little bit of time and effort in taking care of your investment