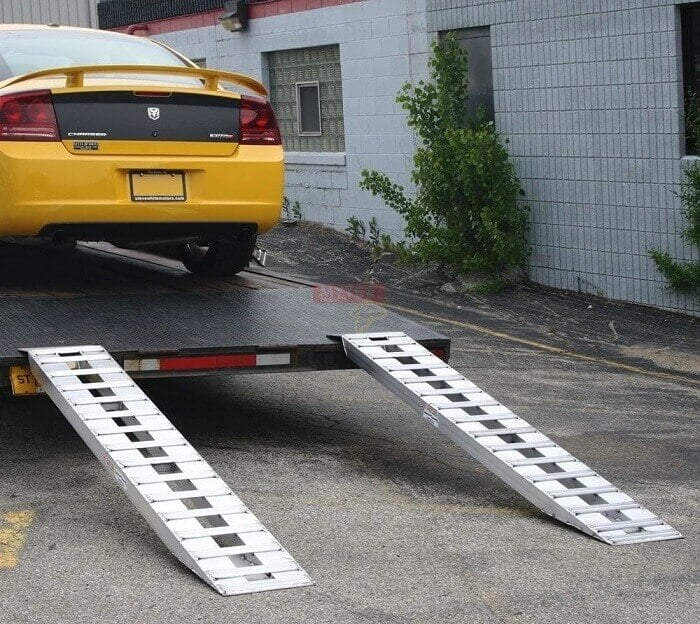
You have invested in a brand-new aluminum toolbox for your truck. Congratulations. Your purchase of a toolbox from Mytee Products means years of reliable service from a great product that has been manufactured to the highest possible standards. We assume you are going to want to keep your toolbox looking as new as possible for as long as possible. We want to help you do just that.
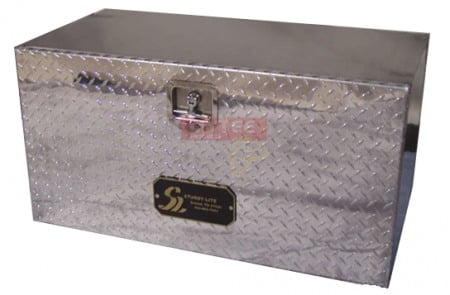
Cleaning and polishing aluminum toolboxes used to involve a lot of elbow grease and valuable time that could have been spent on other things. Not so in the modern era. We now have access to a number of excellent cleaning products that make it possible to restore your aluminum toolboxes to like-new condition with minimal physical effort. In this post, we will describe what those products are and how you can use them to keep your toolboxes looking like they just came from the show room.
Why Cleaning A Tool Box
Before we get to the actual cleaning and polishing process, let us talk about why cleaning tool boxes is necessary. It boils down primarily to the metal – aluminum’s natural tendency to oxidize.
Aluminum is a great material for all sorts of applications that involve exposure to the elements. Aluminum naturally oxidizes when exposed to the air, creating a thin film that protects the metal from corrosion. This characteristic is one of the reasons things like canoes and rowboats are often made of aluminum.
That dingy coating that seems to cover trucker’s toolboxes and wheel rims is nothing more than the film produced by oxidation. You can leave the film alone and your aluminum toolboxes and rims would be just fine. But it does look dingy and old, which is why we clean and polish. The idea is to get rid of the film without exposing the metal to environmental damage.
Deoxidize First
The first step in cleaning your aluminum toolbox is to deoxidize. There are numerous products sold in liquid form for this purpose. You simply apply a small amount to the surface of the aluminum and then work it in. Many experienced truckers use a scrap of old carpet so as to avoid scratching the metal during the process.
Work in the deoxidizer or until the surface of the metal shows a uniform, whitish color across the surface. If you are working with diamond plated aluminum, you will need to apply the deoxidizer in four different directions: clockwise, counterclockwise, and then in each direction of the diamonds. This removes the oxidation build-up on the diamond edges.
Polish Second
Once you’ve achieved that uniform whitish color, you know the deoxidation part is done. The second step is to take some liquid polish to the metal. Apply a small amount and then work it in with a piece of carpet (or whatever else you used) in the same four directions. Working the polish in will create a dark, almost black film. When you start seeing bright aluminum shining through that film you will know that the polishing process is complete.
Finally, take a rag or towel to the metal to remove the polish. Work in the same four directions until all the polish is removed. You will be left with bright, beautiful, and protected aluminum.
Here’s one last tip: do not try to do the entire surface of the aluminum toolbox all at once. Work in small sections so that you don’t give either the deoxidizer or polish any chance to begin solidifying. This will create a uniform finish when you’re all done. Between cleanings, a little cooking spray can help remove dirt and bugs without harming the protective layer of polish.